Showing posts with label Zombies in spaceland. Show all posts

Saturday, 4 February 2017

N31L Building and Upgrading robot in Zombies In Spaceland - Infinite Warfare


Secrets: Elemental Weapon Upgrades -- Turning On Power -- Pack A Punch -- N31L Upgrade --

Buildables: SETI-COM -- Face Melter -- Shredder -- Headcutter -- Exquisite Arcane -- Dischord


Easter Egg Guide: Part 1 -- Part 2 --


Hey guys,

This is how to upgrade N31L the lovable 80's robot that roams around Spaceland, offering Spaceland's fun seekers various ways of winning tickets to spend in the park. He patrols around the centre area of Zombies in Spaceland theme park. Initially, he has a few screws lose, as you will notice his head is missing and has fallen off somewhere.


You need to find his head and attach it to his torso, where he will then start dishing out challenges that players can complete for additional experience and a cool Easter Egg.

Lets see how to get you N31L's head attached and get a very cool Easter Egg where you will get the help  and pleasur eof fighting alongside the DJ in the level himself, David Hoffman.....yes the HoffMeister himself.

Just remember that N31L's challenge can be paused if there is a quiet patch in the round or a shortage of zombies that are required for some of his challenges. Simply walk up to him once a challenge has started and hold the USE button to pause a challenge. To unpause, you guessed it, simply go up and hold the USE button again on him to unpause a challenge.

Lets get our science head on and find....this robots head.....


N31L's Head - He would forget his head if it wasn't screwed on!


In order to upgrade N31L, we need his head to get him functioning again, as its the brains of the computer so to speak. Once we get the head he will be up and running as if he was brand spanking new, rolling out of the robotics factory he was born in.


His head is located just past N31L’s body and on the table to the right of the bridge that leads up to Polar Peak. Simply pick his head and make your way back to N31L’s body and put it in place to bring the Sci-Fi robot of the 80's, who reminds me of Johnny 5 in short circuit, back online.

Now N31L's head is reattached, he can resume his programming routines and will begin spitting out challenges that the player can complete. These challenges come out in different variations, but the first five will always include one of the following:
  • Get Multikills
  • Kill zombies at a distance
  • Don’t go into Last Stand
  • Kill zombies with melee attacks
  • Kill zombies while jumping

Its best to complete this first tier of challenges as early as possible as some become more difficult in the later rounds, such as the kill zombies with melee attacks. Insta-kill however can help overcome this problem if you are stuck in later rounds with this challenge.

As you complete each of N31L's challenges, you will notice a bar on your HUD for the challenge area starting to fill after each challenge is completed. Once this bar is full, head over to N31L and hold the USE button on him. This will cause him to shoot into the air and return with a beloved friends and kick ass zombie killer in his arms.....the one and only....David Hasselhoff. 


The Hoff will fight alongside you for a few minutes, running and gunning his way around the map. Then he will hop back into N31L’s arms and shoot back into the sky. When N31L returns, he will require a second part to be found. Finding this part, which is his battery, requires that you know how to turn the power on to the park gain access to the underground area.


N31L's battery - I need Charged


After fetching the Hoff for the first time, it took a lot out of N31L and he is feeling a bit knackered. He needs some juice to recharge his booster systems so he can go and retrieve the Hoff again to help you rid Spaceland of this zombie infestation. He will also have a new set of challenges brought back with him which include:

  • Protect the player
  • Shoot the legs off zombies
  • Board up windows
  • Kill zombies at a distance
  • Kill zombies that are crawling on the ground


The BATTERY can be found near the Laser trap located in Polar Peak, on the counter near the ramp in the portal room at Polar Peak or in front of the wind trap in the Kepler System. There are other locations it may spawn, so far the known locations it may spawn no each play through are:

  • Ice Cream Stand in Kepler System, 
  • Bench by DJ Booth in Kepler System, 
  • Polar Peek Trashcan by the RPR EVO wallbuy.
  • Floppy Disk Location is in the Underground.
  • Polar Peak in the rollercoaster room in the cubby containers.
  • On top of a trash can on a bridge in Kepler System above Bombstoppers.
  • Underground on a bench near Racing Stripes.
  • Polar Peak by the cash registers & wonder weapon cutout. 


When you retrieve the battery. head down to N31L and install it onto him. He will then do his Superman thing and once more shoot off into the night sky, bringing The Hoff back with him when he returns. After a few minutes, N31L returns Hasselhoff back to the sky, where he will then require an OS update.


N31L's Floppy Disk - Blue Screen Of Death if I don't get that OS update


Some of you kids out there in Spaceland are probably too young to know what a floppy disk is or perhaps have not even used one, but they were as popular as CD's are back in the days of computing, only some where the size of a dinner plate, until they got down to a smaller and skinnier size....then CD's kicked their ass and wiped them off face of the planet.

Now the brief history lesson is over, this Floppy Disk part is needed to complete the third part of N31L’s Easter Egg quest can be found in quite a few different areas in the downstairs section. The areas in which the Disk appears in have not yet been pinpointed as it seems to appear quite randomly in tons of different areas in the Arcade or Polar Peak areas. Some investigative work may be needed here to seek it out but it always seems to be located on the edge of a table.


Go to the  "employee only" area via the stairs in the Arcade or Polar Peak. Downstairs, you will find 3 different locations where the item can be found in the Spacelands underground section / corridor which has the kitchen etc in it and where the SETI COMM defense location is. Once you find it, head back to the surface and interact with N31L to complete the final part.


Updating his OS will spawn a new set challenges, which are quite obscure and difficult to do which can include, but not limited to:
  • Kill zombies that have already damaged you
  • Kill zombies from within the marked area
  • Shoot only zombies arms off etc.


When you complete the next set of challenges and N31L’s bar is once more full, he will shoot off into the stars once more, returning with The Hoff to help you out. After he returns Hoff to his place in the heavens, you can then spend $5,000 cash to call in the "Knight Industries Two Thousand Protocol", which brings David Hasselhoff back down to help you fight zombies on request....providing you have enough cash in your wallet. He's a star, likes to help people, but he has got to get paid in the process.

Still unsure how to upgrade N31L? Then check out +MrDarlekJD. Youtube video below which is very easy to follow: 


Thanks for reading guys

Henry

Pack A Punch in Zombies In Spaceland - Infinite Warfare


Secrets: Elemental Weapon Upgrades -- Turning On Power -- Pack A Punch -- N31L Upgrade --

Buildables: SETI-COM -- Face Melter -- Shredder -- Headcutter -- Exquisite Arcane -- Dischord


Easter Egg Guide: Part 1 -- Part 2 --


Hey guys,

Here is how to find the Pack A Punch room in Zombies in Spaceland for Call Of Duty Infinite Warfare. Pack A Punch this time around is hidden away inside a portal, to get this portal to Pack A Punch, you need to turn on all the power switches on that are scattered throughout Spaceland, as you can imagine, portals use a lot of juice.

The Pack A Punch room also contains the UFO which you can release into the map and then charge up with zombie souls when your weapon has an arcane core attached, subsequently rewarding you with an elemental upgrade for your weapon, depending on which colour of UFO you charge up.

So lets all hop aboard the Pack A Punch teleporter and energize you to upgraded weapons heaven...

Step 1 - I just don't have the energy anymore


We first need to supply enough power to the teleporters in Spaceland to get us to the elusive Pack A Punch room.  So we need to flip all of the power switches that are located in each section of the map. When each is turned on individually, it only restores power to that particular section, leaving the rest in a black out stage. If you are not sure of all of the locations of the Power switches, you would make a terrible electrician, however luckily my TURNING ON THE POWER GUIDE will make it much easier for you.....and stop you getting electrocuted.

Step 2 - Energize!


Once the power is turned on in every section of Spaceland, you will notice there are four teleporters now available, one teleporter in each section. To activate Pack A Punch, simply pass through all 4 of these teleporters by walking up to them and pressing the USE button on the small control box beside each one, then once you see the portal appear, go up to it and press USE to enter. This portal will take you to the teleporter in the centre of the map with the floating planet above it each time.


You will have to pass through all four teleporters in this step. Simply walk up to the teleporter and hit the action button in each teleporter to use it. After you activate each teleporter, there will be a fifth teleporter in the center of the map with a floating planet above it, which is where you will emerge from each time you use a teleporter. You will also notice that if you look above the central teleporter when you emerge, there are 4 lights that start to become illuminated each time you activate a teleporter in an area. You have guessed it, there are 4 teleporters in total and each time you activate another, another light will illuminate.


When all 4 lights are on, which are a blue colour, you can now proceed to the Pack A Punch room and get some killer fire power.


This is also where Pack A Punch can be entered from.

Step 3 - Quiet guys...we didn't come this far to get found out.....FOUND EM!


Pack A Punch is located through this central teleporter and you enter by simply walking up to it and pressing use. When all your particles and atoms are put back together, you will notice an ancient looking old film projector, this is the Pack A Punch machine in all its beauty and glory.


It will cost 5,000  points to use the Pack A Punch machine which is well worth it, simply walk up and press the action button to start the animation. The Pack A Punch animation takes a few seconds so be patient :).

Still not sure how to find Pack A Punch? Then check out +MrRoflWaffles Youtube video below which is very easy to follow.


Voila! You are now the proud discoverer of the ancient and wonderful upgraded killing machine that is Pack A Punch, enjoy!

Thanks for reading as always guys

Henry

Friday, 3 February 2017

Turning on the Power in Zombies In Spaceland - Infinite Warfare


Secrets: Elemental Weapon Upgrades -- Turning On Power -- Pack A Punch -- N31L Upgrade --

Buildables: SETI-COM -- Face Melter -- Shredder -- Headcutter -- Exquisite Arcane -- Dischord


Easter Egg Guide: Part 1 -- Part 2 --
Hey guys,
here is how we turn the power on to the scariest zombie horror movie and theme park in the universe that is Zombies In Spaceland. What's a world without electricity?....for one thing...I wouldn't be writing this guide on my quad core PC that's for sure, it would be written with a pen and pad. Spaceland, because of it's many rides, machines and traps all using electricity all day long, I would hate to see this theme parks electric bill.
Each area of Spaceland has its own generator and must be turned on individually to restore power to the entire park, area by area. Below I will show you where you can locate these generators as joining some games online, even after 2 month's of Zombies In Spaceland's release, many people still do not know how to restore power to the entire park.

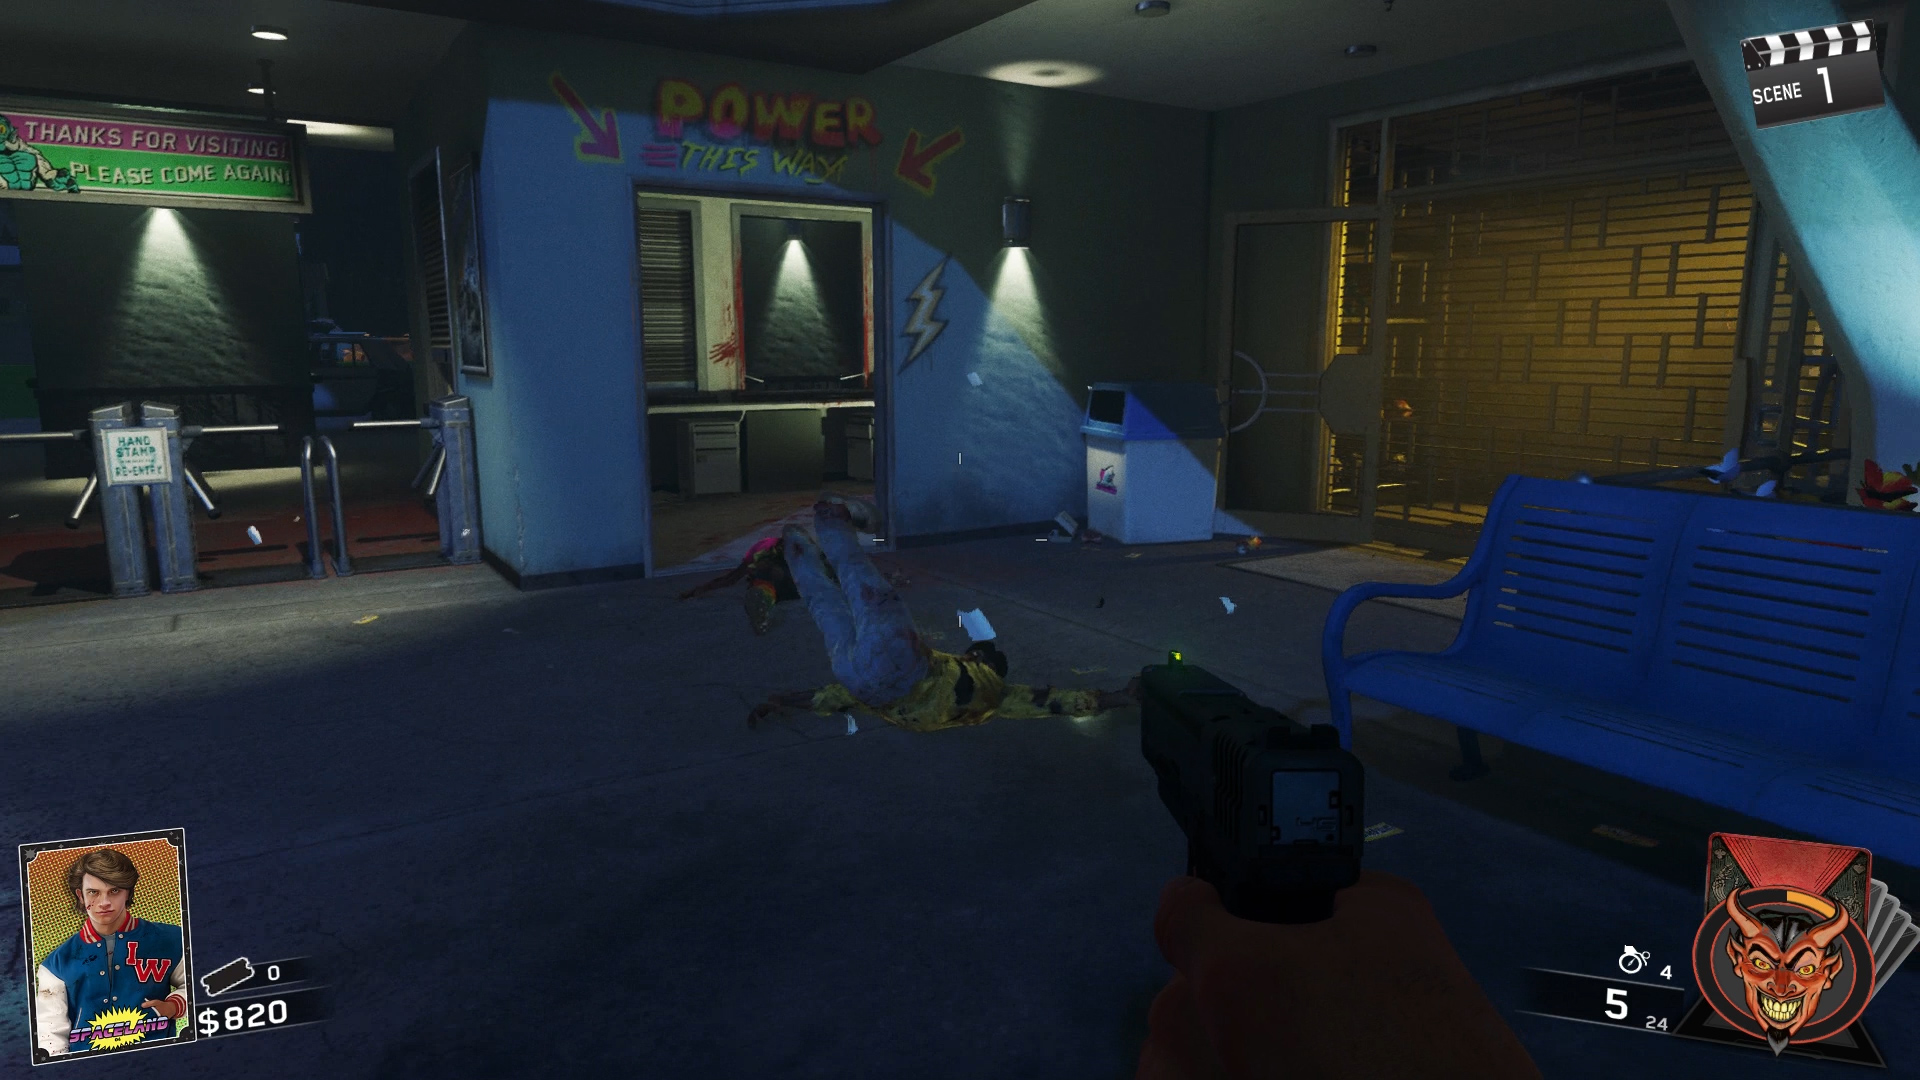
Switch 1 - Spawn Area Power Switch

The first generator is the easiest to find in the entire map, its in the small office at the Entrance to Spaceland. It also has huge signs saying "Power This Way" with electricity symbols graffiti on the wall ....if you still are not sure where it is located after reading this sign......then I cannot help you any further :). It is compulsory to turn on this power generator otherwise you will not be able to leave this area....simples. Check the picture below:
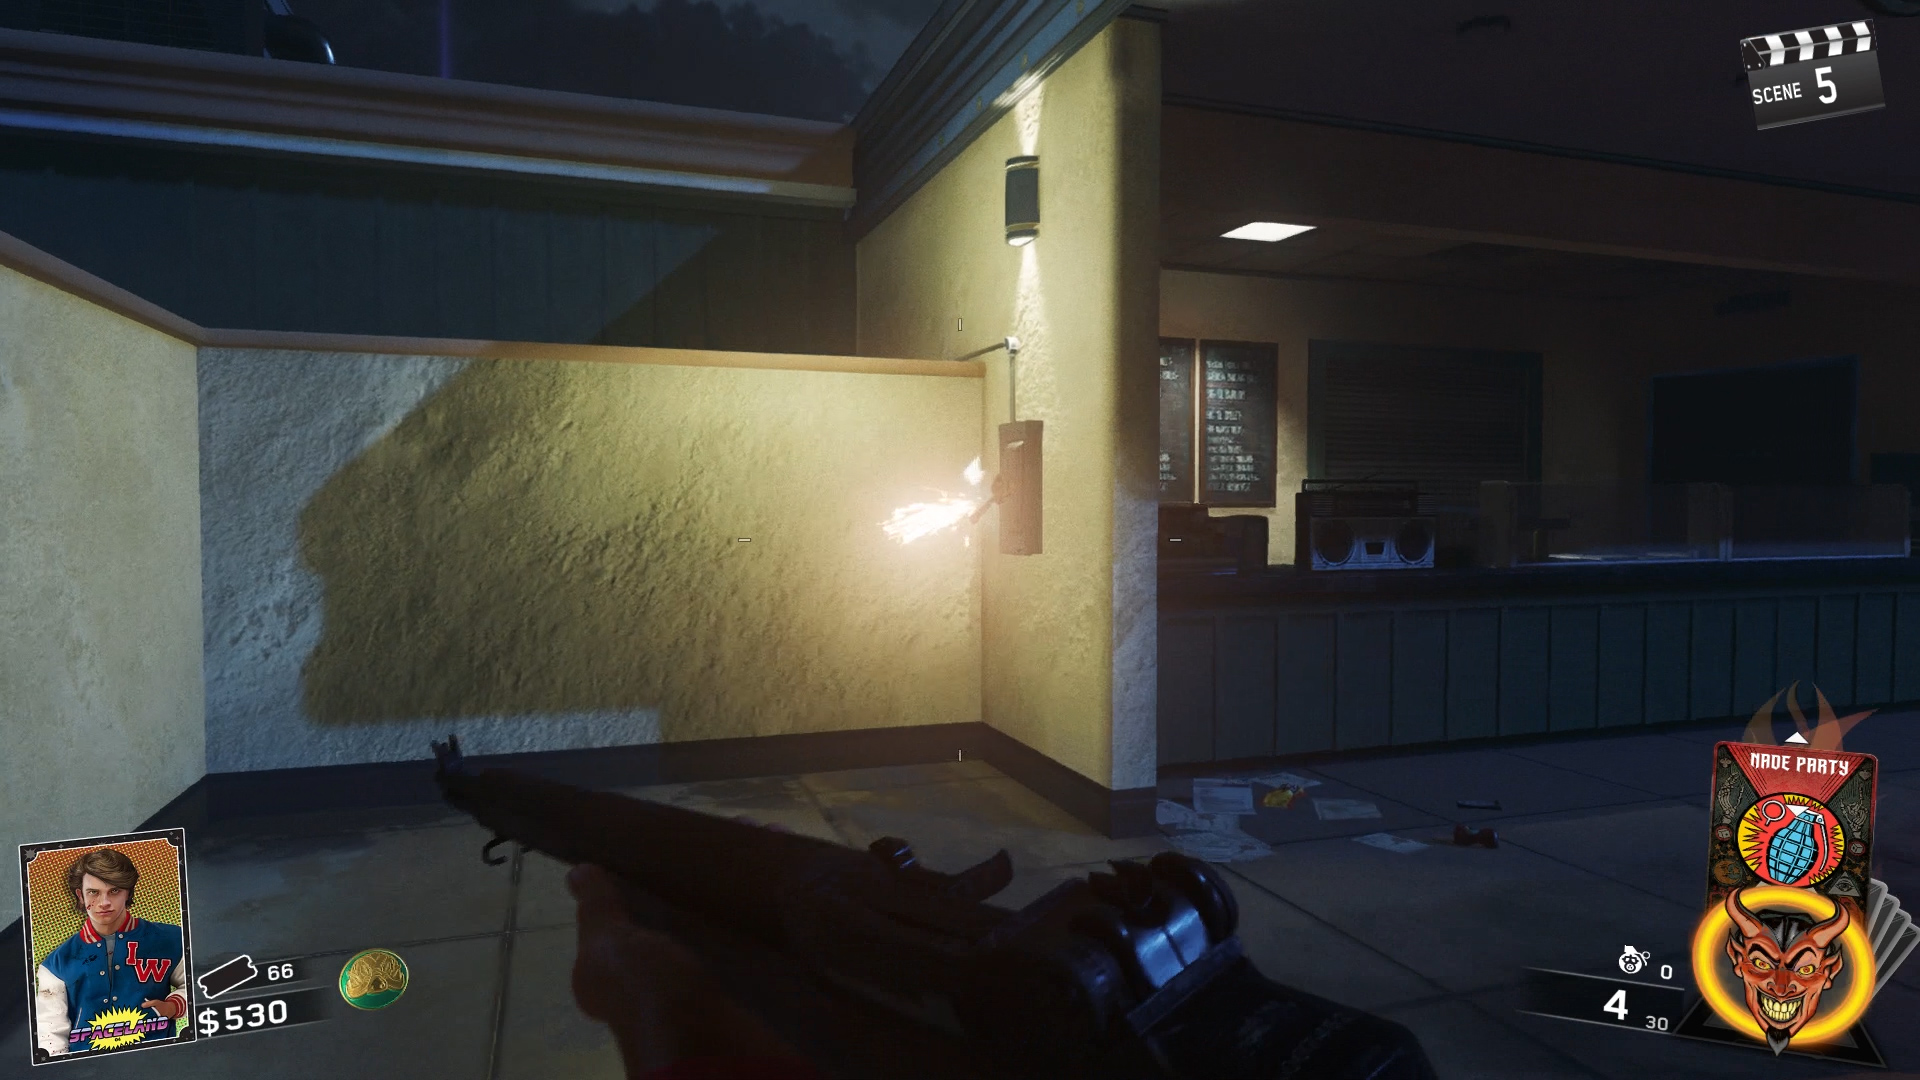
Enter the ticket box style room at the entrance and look to your right, on the wall is a sparking box with a handle. This basically opens up the main gate and lights up an amazingly well designed pink Spaceland sign which leads through an epic looking circular archway. Proceed into the park once you activate the switch and lets have some fun!

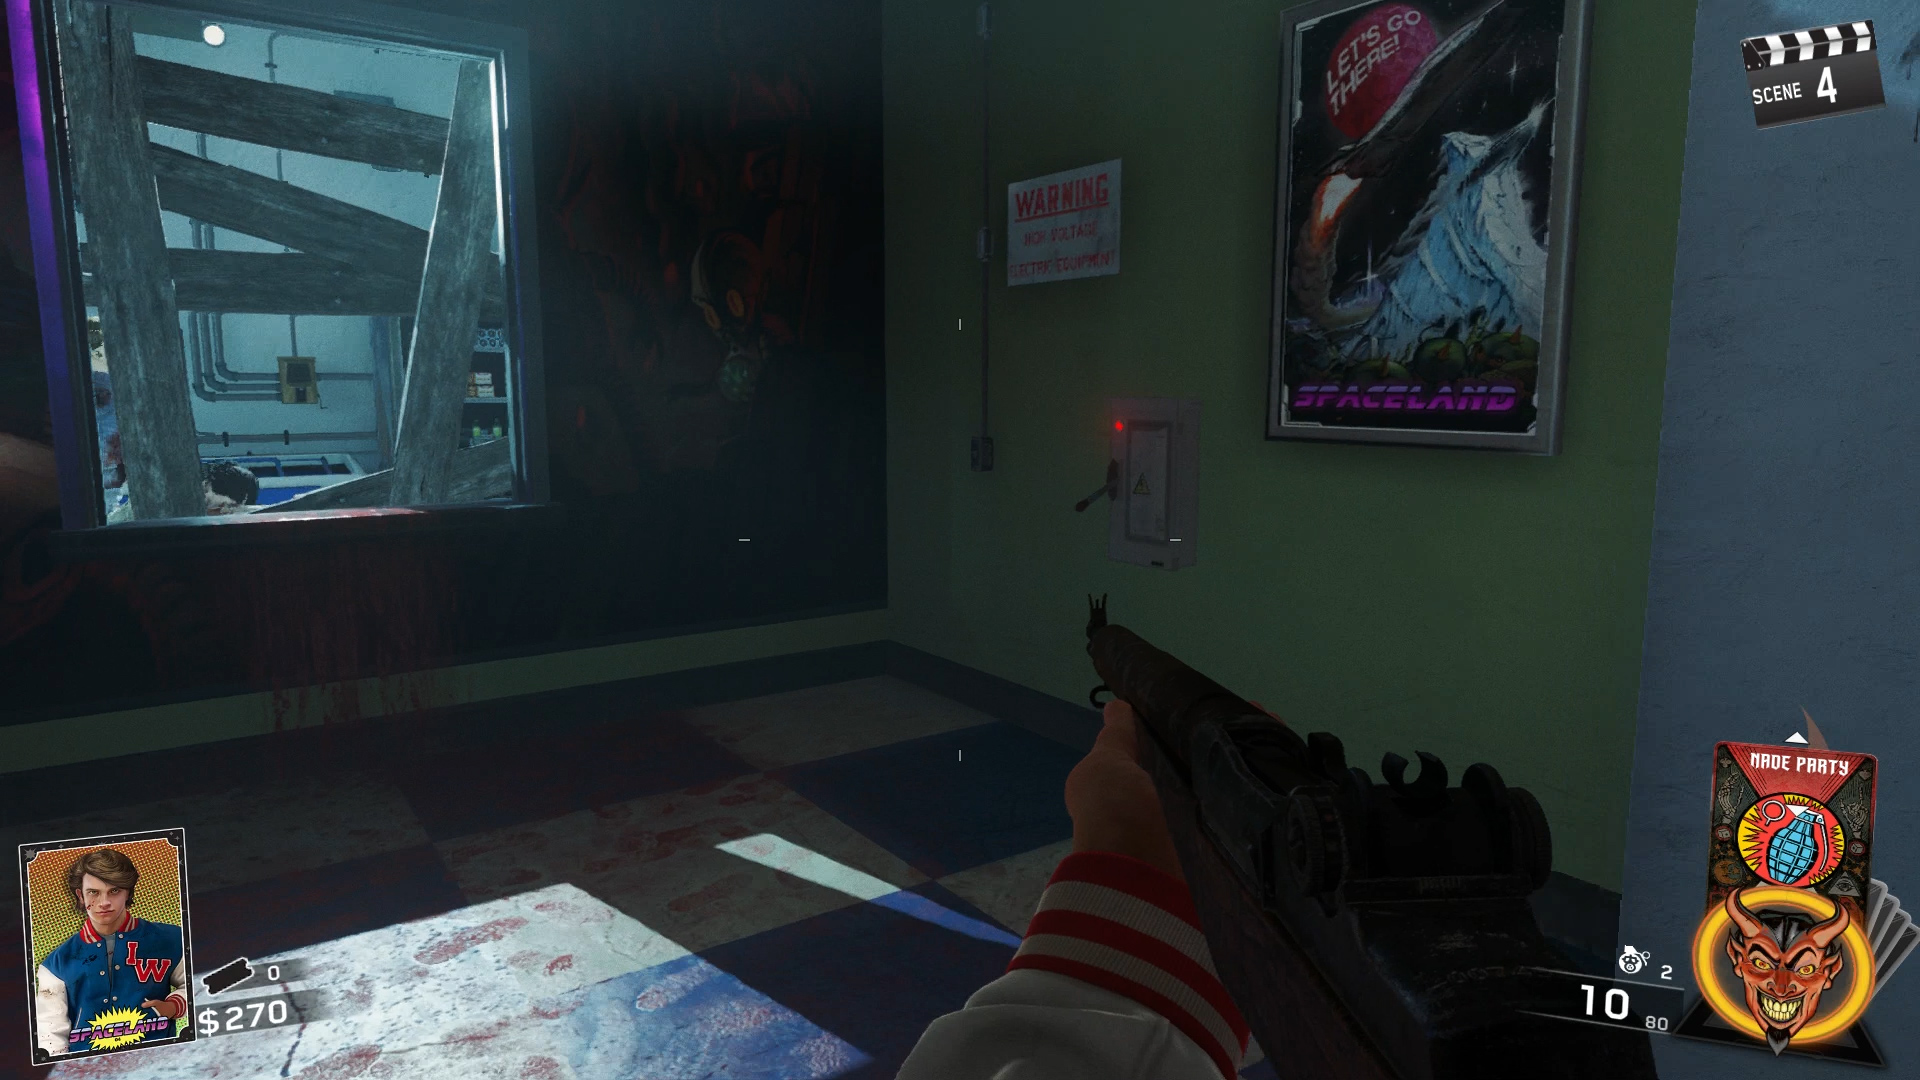
Switch 2 - Journey Into Space Power Switch


If you are coming from the main spawn area in the map, take a sharp left to find the Journey Into Space area, and head to the right once you enter the area. Dander up the staircase that leads to the Astrocade and open the door once you get to the Astrocade arcade. Once inside the arcade, hug the wall to your right. You will notice a window where zombies can spawn from, along with a poster of Spaceland on the joining wall. This is where you will see the switch hanging off the wall, which has a small red light emitting from it, showing it has not been activated.
Whack this switch on and it will restore power to the arcade, which will allow you to play all the games in there from Activision, spanning over 30 odd years of gaming . When you’ve had enough fun in the arcade and ran out of quarters, head back to the spawn area for directions to the next box. You can play as much as you like in the arcade as money is no object this time, don't worry about trying to find a quarter if you die halfway through a level before that count down timer runs out. Just reset and replay.

Switch 3 - Journey Into Space Power Switch


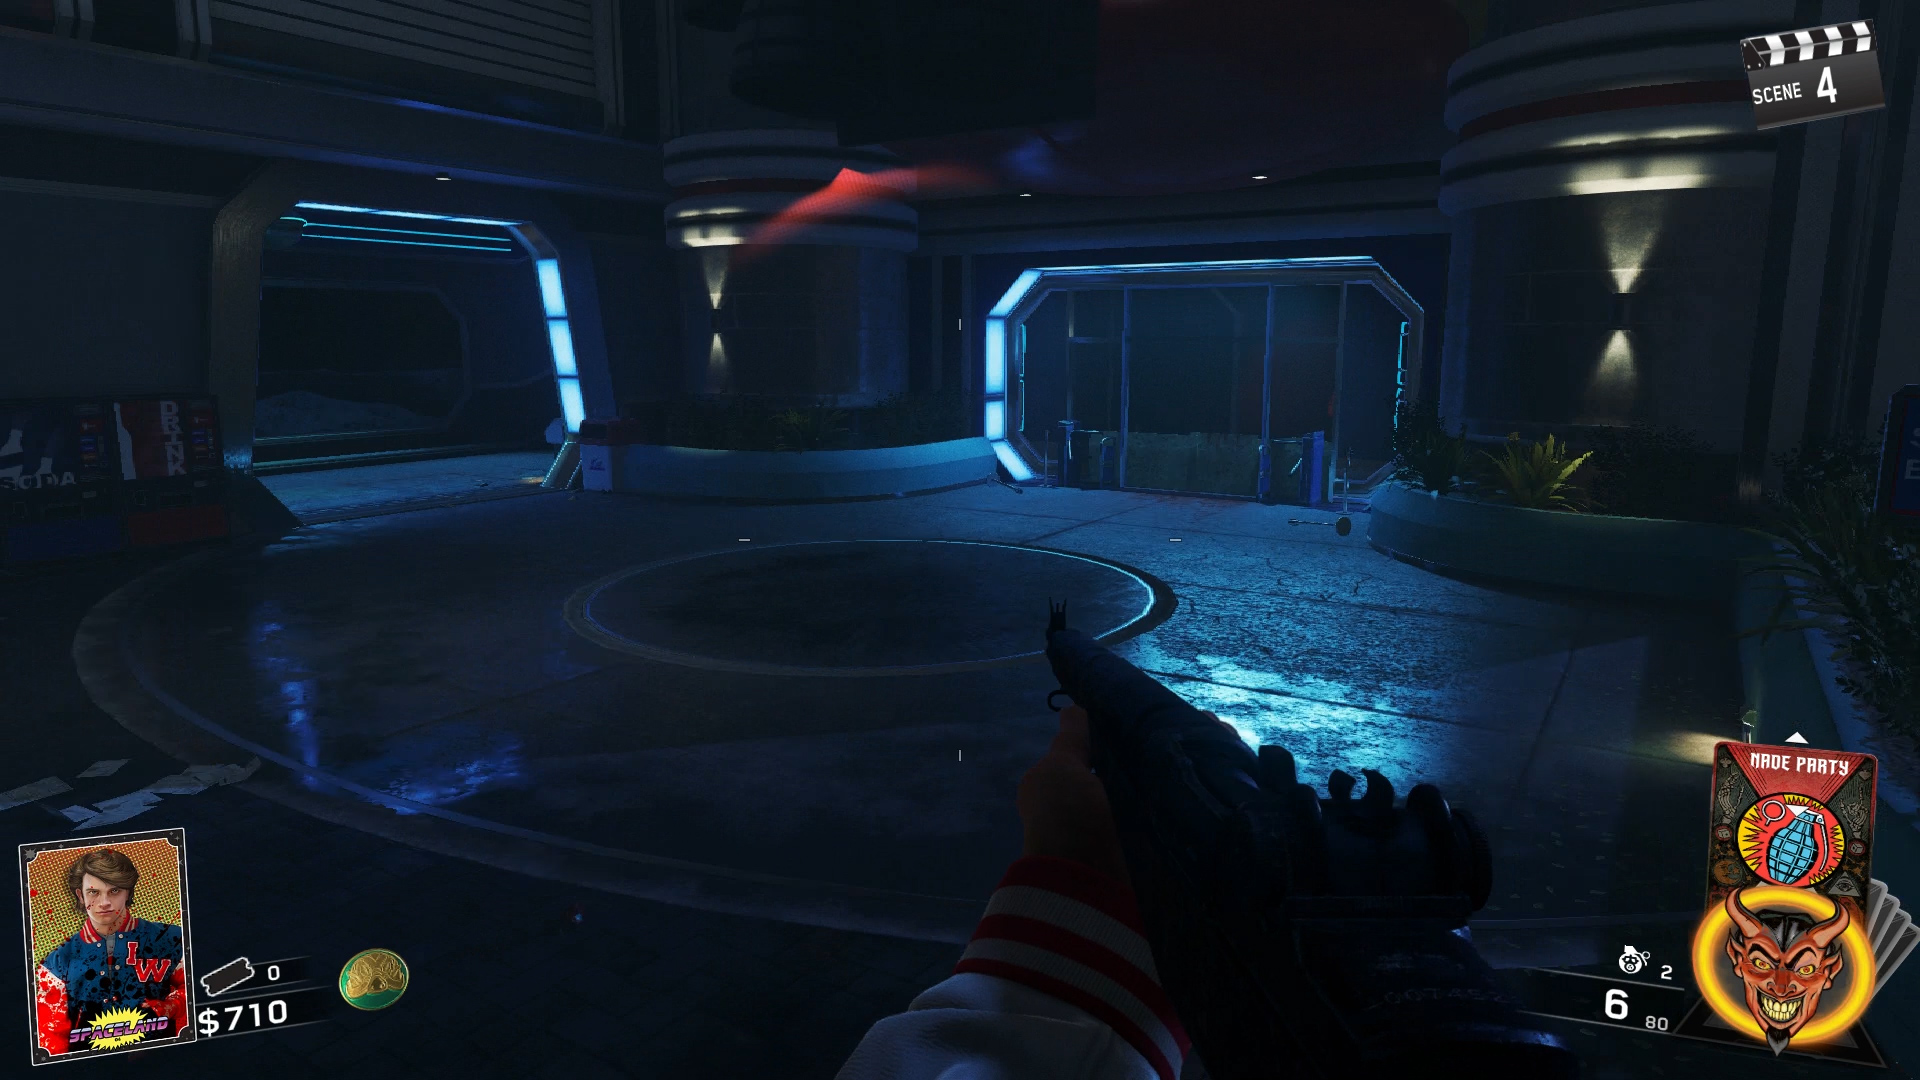
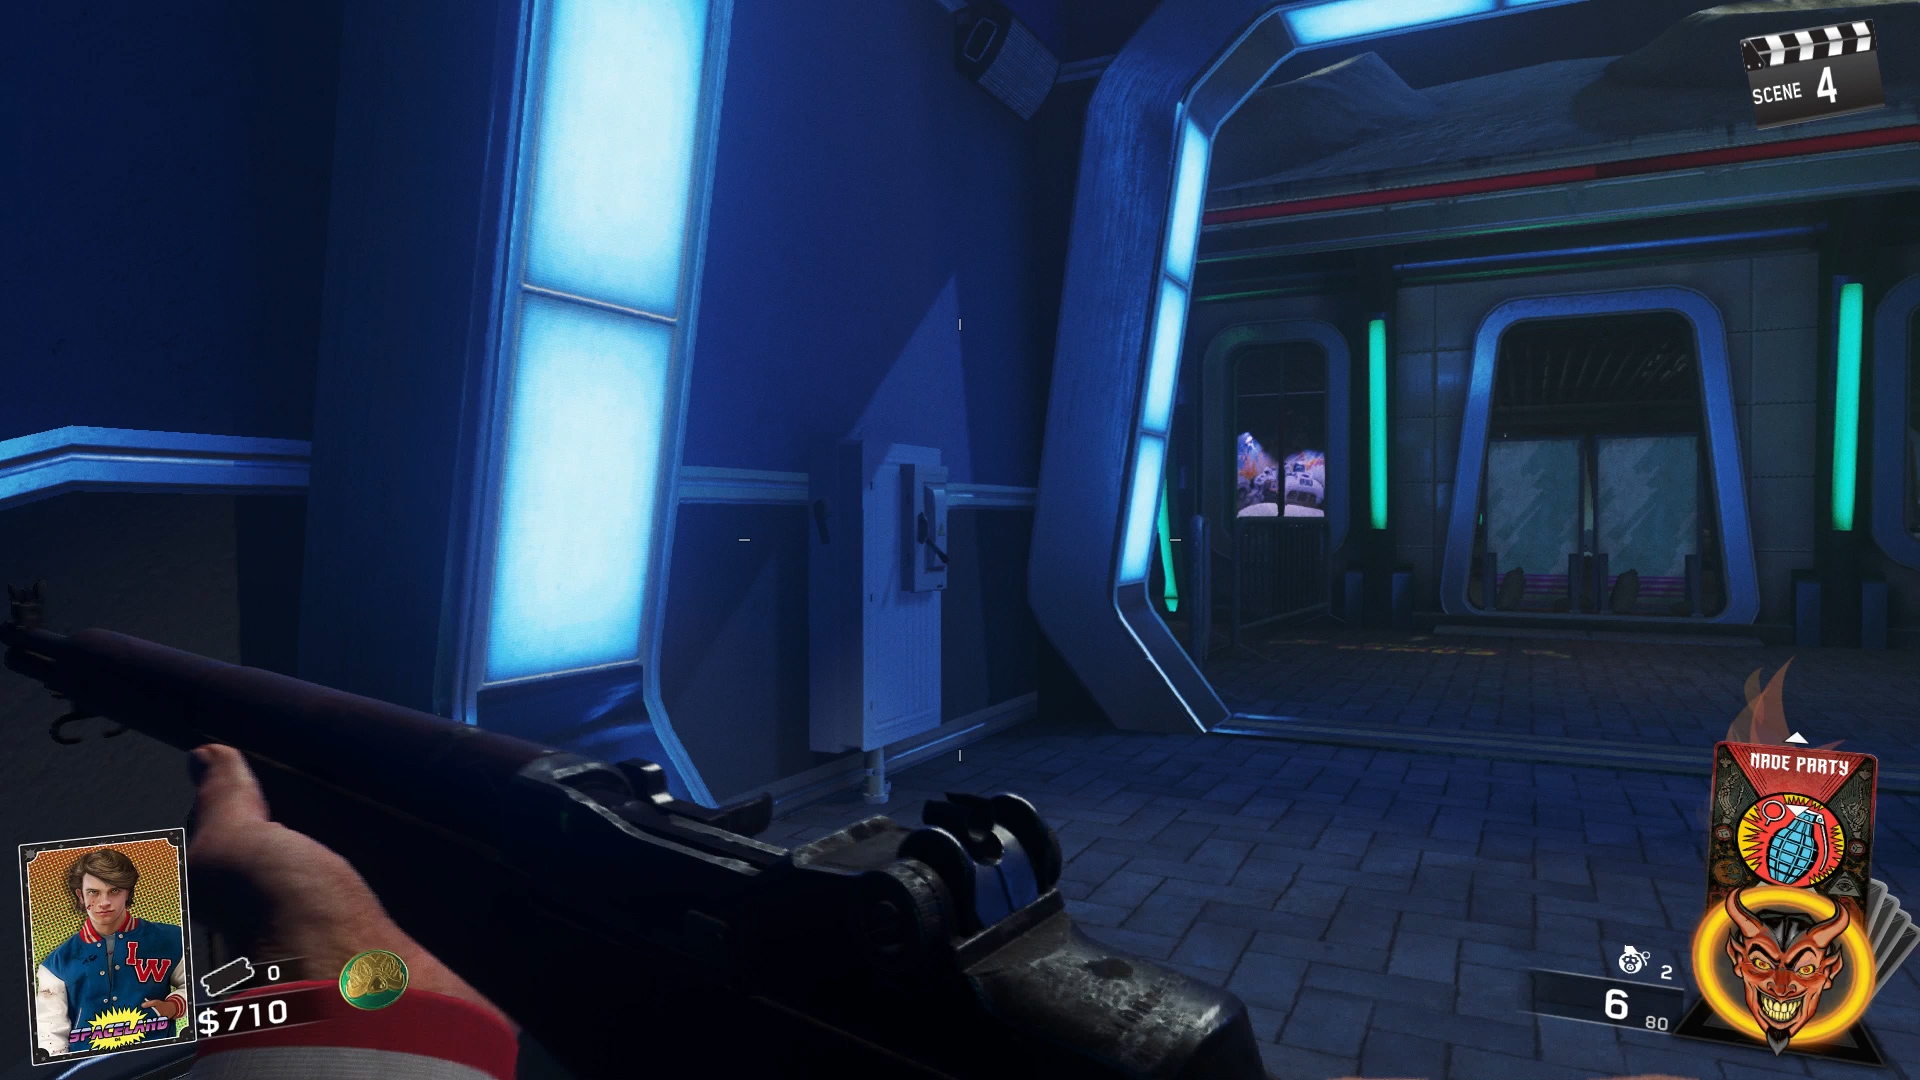
If your referencing again from the main spawn area, head left to the other side of Journey Into Space, where you will have to open another door on the way, so make sure you have enough money before heading over and not spent all of it in the arcade you crazy kid. You will see a big glowing red tower with a rocket ship, keep going past this and stay to the left.
Once you pass under the actual rocket ship, an open door will be in front you, enter this and follow the tunnel to the right, On your left is the second generator box of Journey Into Space.

Switch 4 - Polar Peak Power Switch

Now it's time to head over to the icy cold mountain that is Polar Peak. This area is located in the very back of the Spaceland park, so head straight from spawn in a straight line to the very back until you hit it. Save your money up here as we have a few doors to bribe on the way there. The first door will be labelled Polar Peak when you go to press the USE BUTTON on it. Open it and make your way up the winding and twisting hallway.
At the top of the hallway is an open area, but stay to the left to open a second door that leads to another twisting hallway. The top of this hallway is the entrance to the roller coaster, you will see it on your right. The power box is located in the room directly across from where you board the ride, stay to the left once entering the coaster room, it is the one with the soda machine. Enter the room and look to your right, the generator box is on the wall. Congratulations, you are close to turning on all the power in Zombies in Spaceland and increasing your electricity bill in the process.

Switch 5 - Kepler System Switch

Taking Polar Peak as your starting point, if you have been activating these in the order we have been explaining them, then the Kepler System is in the central area on your left. If you are headed from spawn, walk forward to the centre of the map, leaning slightly right to find the Kepler System. This Spaceland generator is easy to find, because there is a giant sign that points to where it is!
Once entering the Kepler System, walk up the hill and stay to the left to see the restrooms. The restrooms will be locked, pay to open the barricade. Enter the new area and stay to the left. You will see a staircase with a big arrow that says “power” spray painted on the wall. You guessed it, walk up these stairs, the generator box will be on your right at the top of the steps.
That is every generator, that is how you turn on the power in Zombies in Spaceland! The power will stay on once you complete this, so now need to worry about turning on the Spaceland power again.
Turning all the power switches on is required in order to provide enough juice to teleport you to the Pack A Punch room.
Thanks for reading as always guys.
Henry


This post has been derived and modified from the original. Its images have been unaltered simply referenced from PrimaGames.com, from: https://www.primagames.com/games/call-duty-infinite-warfare/tips/zombies-spaceland-how-turn-power


Dischord Buildable Guide for Zombies In Spaceland - Infinite Warfare

Secrets: Elemental Weapon Upgrades -- Turning On Power -- Pack A Punch -- N31L Upgrade --

Buildables: SETI-COM -- Face Melter -- Shredder -- Headcutter -- Exquisite Arcane -- Dischord

Easter Egg Guide: Part 1 -- Part 2 --
Hey guys,
here is how to build the awesome Dischord Wonder Weapon in Call Of Duty Infinite Warfare's Zombies In Spaceland. This awesome Wonder Weapon makes zombies break dance on their head before exploding. Their moves would put Michael Jackson, Justin Timberlake and Jennifer Lopez to shame on the dance floor. The only downside is the zombies just can't get enough of the dischord's infectious beats and can't stop dancing. One side effect of constant dancing is, they spontaneously combust....who would have known?
Lets figure out how to get this funky weapon below.

Step 1 - You can't wear chords to a disco!

There are three parts required to build the Dischord which include:
  • Shiny Disco Ball
  • An Expensive Ruby
  • Old  Battery

Everything you need for one hell of a party on the dance floor. these parts can be acquired in any order you like. Now lets get out there and hunt these bad boys down to create the greatest disco fever these zombies have ever known!

Disco Ball Part Location - Dance Fever

This is probably the easiest part to acquire, not to mention the shiniest, but also the longest to get. To get the Disco Ball. find the souvenir machine located outside of the arcade. To make the souvenir machine to reward you with the disco ball, place one coin of each color into it. Coins can be red, blue, or green and are dropped randomly by killing zombies. you can also input these coin colours in any order into the machine, they just have to be 1 red, 1 blue and 1 green....simples.

Starting with the Disco Ball is recommended because this step is best done while accomplishing other tasks around the map, such as activating the power switches in each of the areas or while finding the Pack-a-Punch portal / room. You will be killing zombies non stop once the game starts to it will be easy to get a variety of different coin colours quite easily, especially if playing on four player, as there are a lot more zombies spawning and a lot more dying at the same time. Getting a coin on solo will take a bit longer but on 4 player, should be a doddle.


One advantage of turning on the Pack A Punch portal early one while looking for coins is that it will be needed in a later step of obtaining the Dischord Wonder Weapon build. "Get things done, ASAP, stay ahead.....stay alive" is my motto. If you have already turned on the power and built the Pack-a-Punch before getting all three coins to drop, keep the Disco Ball requirements in the back of your mind and move on to the next parts.

Battery Part Location - Full of Energy

Before you pop down to your local supermarket and cheat by simply buy a packet of batteries....please don't....because they will not sell you any batteries....why?.... because your not wearing sunglasses! You have got to be cool to buy batteries otherwise, what's the point?

You need to obtain the yellow sunglasses that get dropped randomly by killing tons of zombie hordes and stealing their cool shades from the 80's. When you see them, simply hold the use button to pick them up as you will not automatically pick them up when walking over them. The sunglasses turn the film you are in into a Black and White movie, which help to reveal hidden objects dotted around the map.
With these too cool for school shades equipped, you will need to find 5 targets that will be randomly scattered throughout the map. Each play through will be a different set of 5 locations and its very rare the spawn locations are always the same through each play through. The targets will appear white and red coloured, the same as the ones on the roller coaster ride you must shoot. However these targets CAN ONLY BE SEEN by wearing the cool retro shades.
Below are the possible spawn locations for the targets.
  • Behind the prize counter in the arcade
  • Top right of the shop window in arcade back alley
  • Above the arcade generator box on the ceiling
  • Above the spawn ATM
  • The roller coaster track, seen from the maintenance hall
  • In the garbage can next to Demon Attack in the arcade
  • Underneath the Spaceland arch in spawn, on the bush
  • In the Super Mega Claw machine, in the arcade
  • Underneath the walkway bridge near Crater Cakes
  • In the upstairs arcade window
  • To the left of the big Triton sign, near the monsters mouth
  • On the moon wall of the bumper cars, left of the astronaut with the American flag
  • Behind the cardboard Dischord alien

These are the 13 possible spawns we have seen so far, only five of them will have targets so you need to check all of them until you find enough. Shoot the targets you find, and once you shoot five the Battery will appear on the dance floor in the arcade. The batteries moves on that dance floor are electrifying! Sorry couldn't help myself with a pun.

Ruby, Ruby , Ruby, Rubyyyyy

As with any shiny precious gemstone, the Ruby will need quite a bit of tickets to obtain as well as the Pack-a-Punch room unlocked. Purchase an Arcane Core from the "Weapons of the Future" machine truck located around the map for 300 tickets, its not cheap but it will be worth it in the end trust me.


Now plot course to the Pack-a-Punch room and engage the UFOs on the table in the Pack A Punch room to release them into the map. One UFO will fly to the arcade and hover around the dance floor. Train together a lot of zombies and activate the dance floor trap, if you killed enough with the trap, the UFO will leave and start a new path.

Follow around the UFO and kill zombies with the weapon equipped with the Arcane Core you purchased. Once you kill 25  to 30 zombies, the venom upgrade will appear underneath the UFO as a floating green orb. Pick the orb to upgrade your weapon. This infects the zombies with a poison when you shoot them and deals damage to them even after you have stopped shooting them.


The reason you need an Arcane Core weapon with the venom upgrade is to shoot out a part of the hidden machine in the Space Croc mouth. To find the hidden machine, you first need to buy the golden teeth from the arcade for 300 tickets. Next, you need to lead a Brute into the croc trap. Once the trap closes on top of the Brute, the croc’s teeth will break. Place your golden teeth in the broken spots to open a door in the back of the croc’s mouth. If your unsure about this step, check out my guide on building the Wonder Weapon called the Face Melter, which all use this step.
You will see the machine in this door, with 4 slots that can be shot at. You will need to shoot the third from the left, the Ruby will be inside. Be careful to not let the trap close on you, otherwise you are the crocodiles next meal. Pick up the Ruby and your well on your way to finishing building this awesome weapon.

Step 2 - Behold....the Dischord.....and zombies bustin' a move!

Now that you have all three parts, head over to the cardboard cut out of the Dischord alien, located just across from the prize counter in the arcade. The parts will need to be placed in the cardboard cut out, one at a time by holding the activate button. The Dischord will make zombies breakdance on their head before exploding, which is perfect for defending the SETI-COM.


Still not sure how to get the Dischord? Then check out MrDalekJD's video below which is really easy to follow:


Thanks for reading as always guys.

Henry